Virtual Leased Lines (VLLs)
Virtual Leased Lines (VLLs)
Virtual Leased Lines provide a point-to-point Layer 2 connectivity circuit between two ports. This can be between a member’s own ports, or between ports belonging to different members. VLLs can be extended between any two ports on any IX.
Note: You need an active Service Port before you can order VLL services.
Ordering a VLL Service
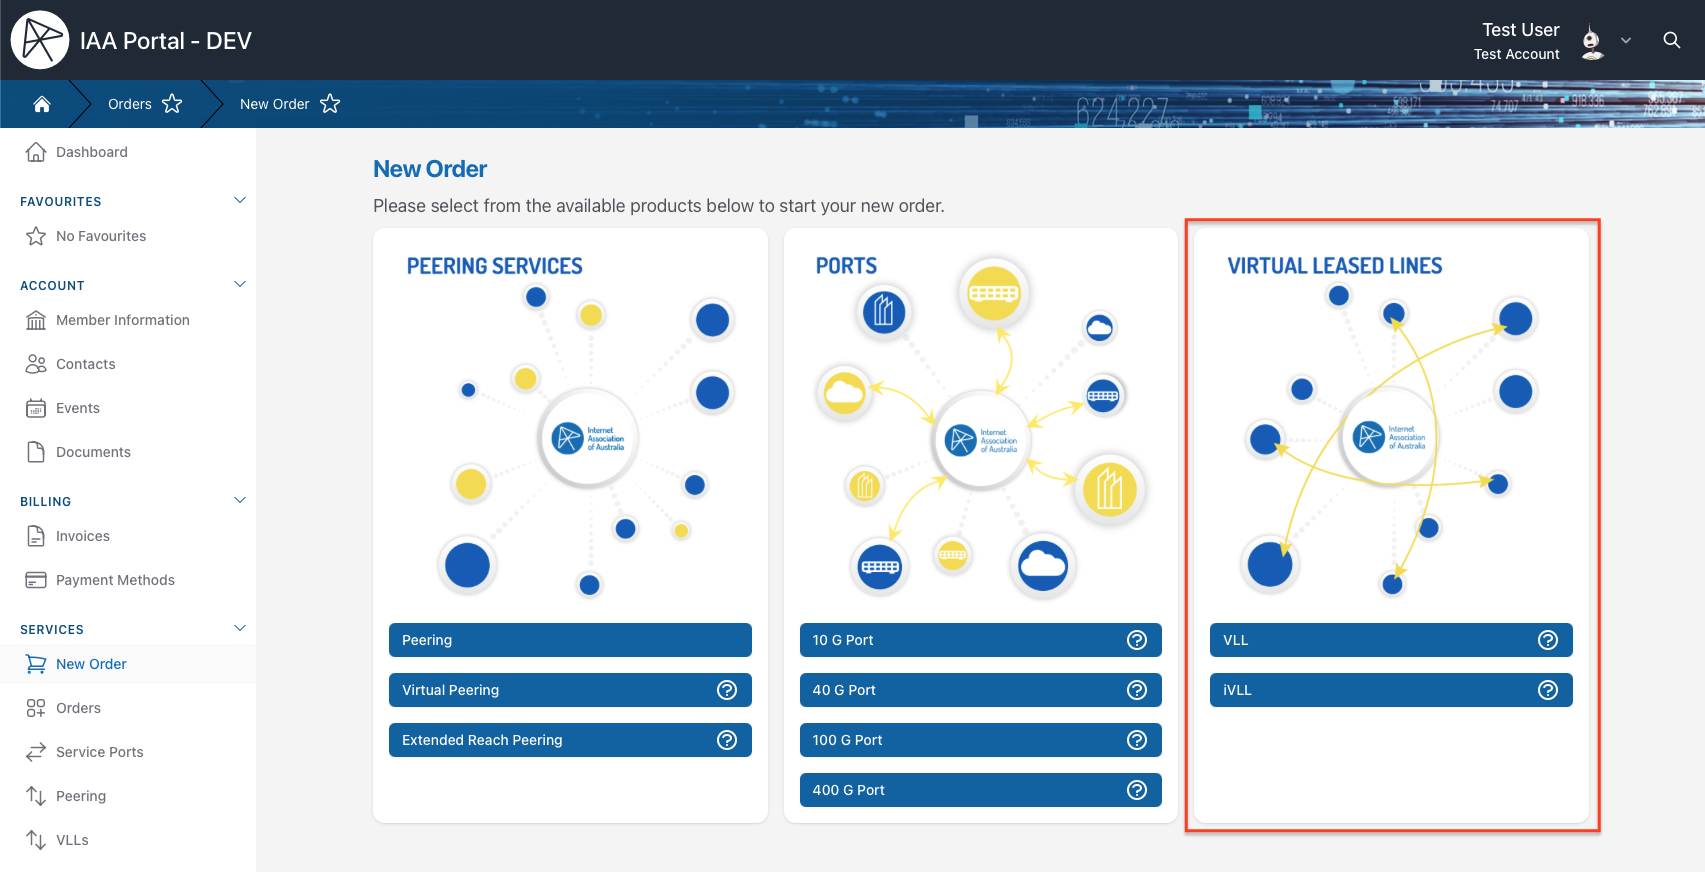
- Navigate to the New Order page and select the relevant VLL product for your order.
- For a standard VLL Service, select the VLL product.
- For an inter-capital VLL Service, select the iVLL product. For more information please see the VLL page on our website.
- Select the originating port for the VLL Service to be delivered on and fill out the required service details. The form may differ slightly depending on the specific VLL product you are ordering, but the general process is the same for all products.
- Please Note: Depending on origin port and destination port selections, the Portal may automatically select the appropriate VLL product for your order. If this happens, you will see a message at the top of the form confirming the product that has been selected for your order.
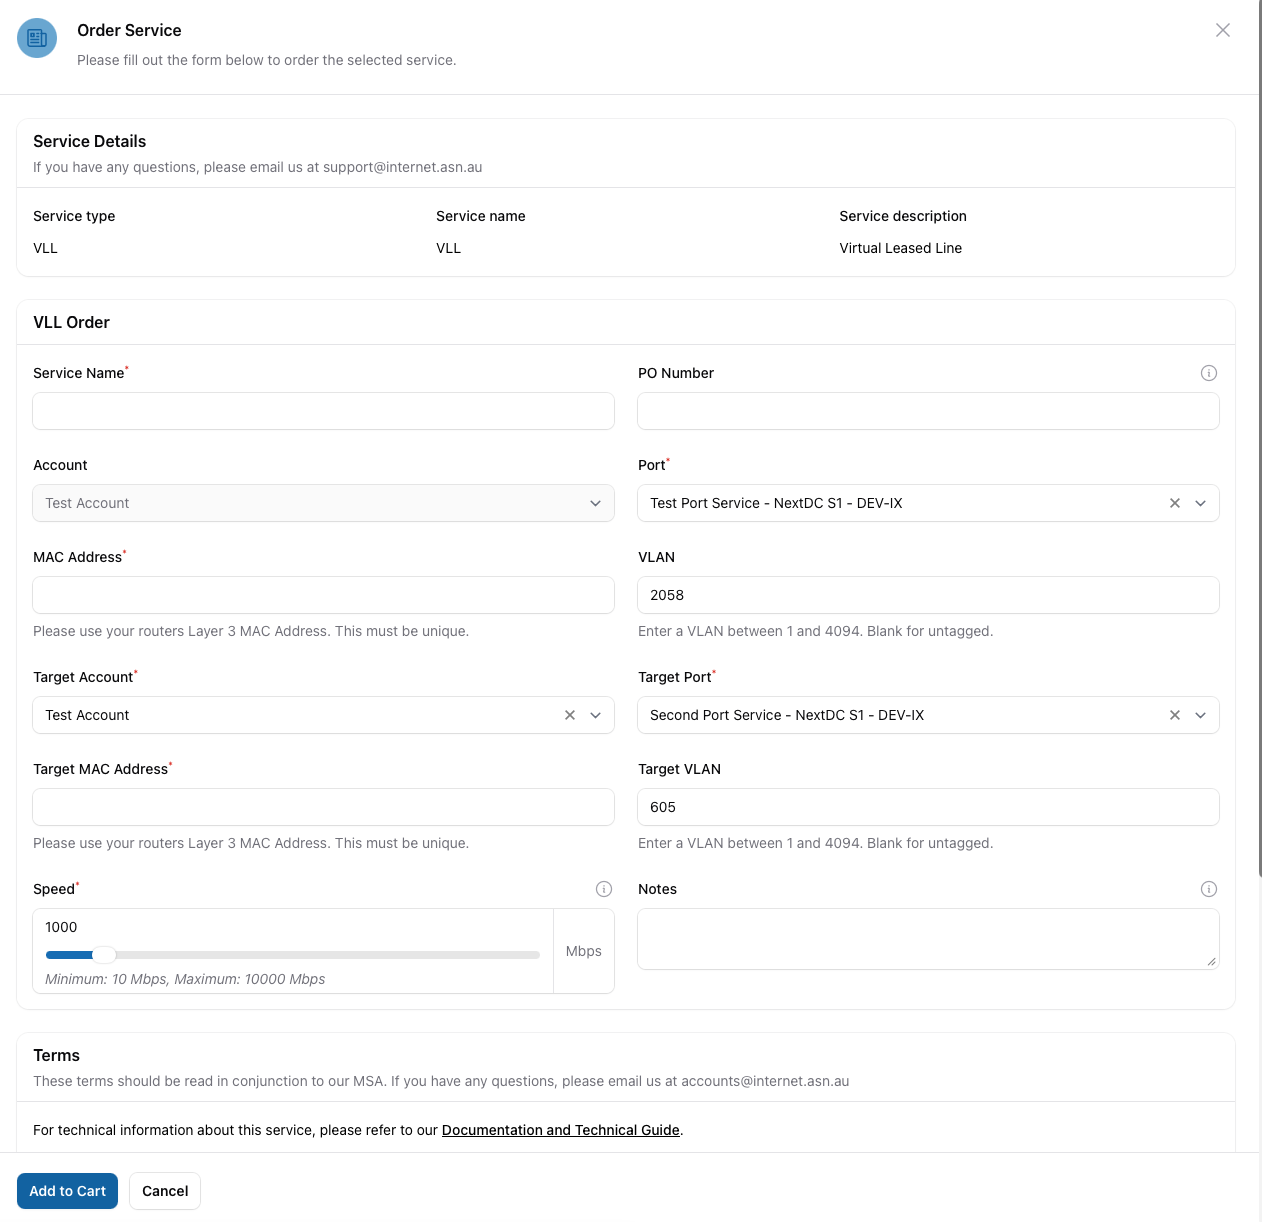
- Use an internal reference for your Service Name.
- Provide VLAN Tagging details if required.
- Start typing the Target Member name and select the correct one when it shows in the drop down list.
- Select a Target Port from the drop down list.
- Add in any relevant notes or information.
- When ordering a VLL Service to another port you own, you are able to enter service configuration details for both ends of the VLL Service and skip the approval process. When ordering a VLL Service to another member's port, you will only be able to enter service configuration details for your end of the VLL Service. The target member will be able to enter their details when they approve the order.
- (If required) Enter your MAC address and the target port MAC address.
- This is required where a VLL service is being delivered onto the same network device at the same PoP. If ordering a VLL service to another account, the target account holder will be able to enter their MAC address details when they approve the order.
- Enter your speed (in Mbps) or use the slider to select.
- Review the path and fee.
- Click Add to Cart.
- Your VLL order will be added to the cart. Please see Ordering a new service for more information on completing your order and checking out the cart.
- Your VLL details will be displayed, in a Pending Approval status, within the port they’ve been ordered against and on the VLLs page. Please review all the details by clicking View.
- If the VLL Service is to another member's port, the target member will receive an email asking them to approve the VLL Service order to their port. The order must be approved by the target member before it can proceed.
- You will receive an email confirmation of your order when it’s submitted and a second email when the order has been completed. The status will update within the Portal as your VLL service is being processed.
Editing a VLL Service
A VLL Service's attributes, such as VLAN ID or speed, can be changed via the portal. To edit a VLL Service:
-
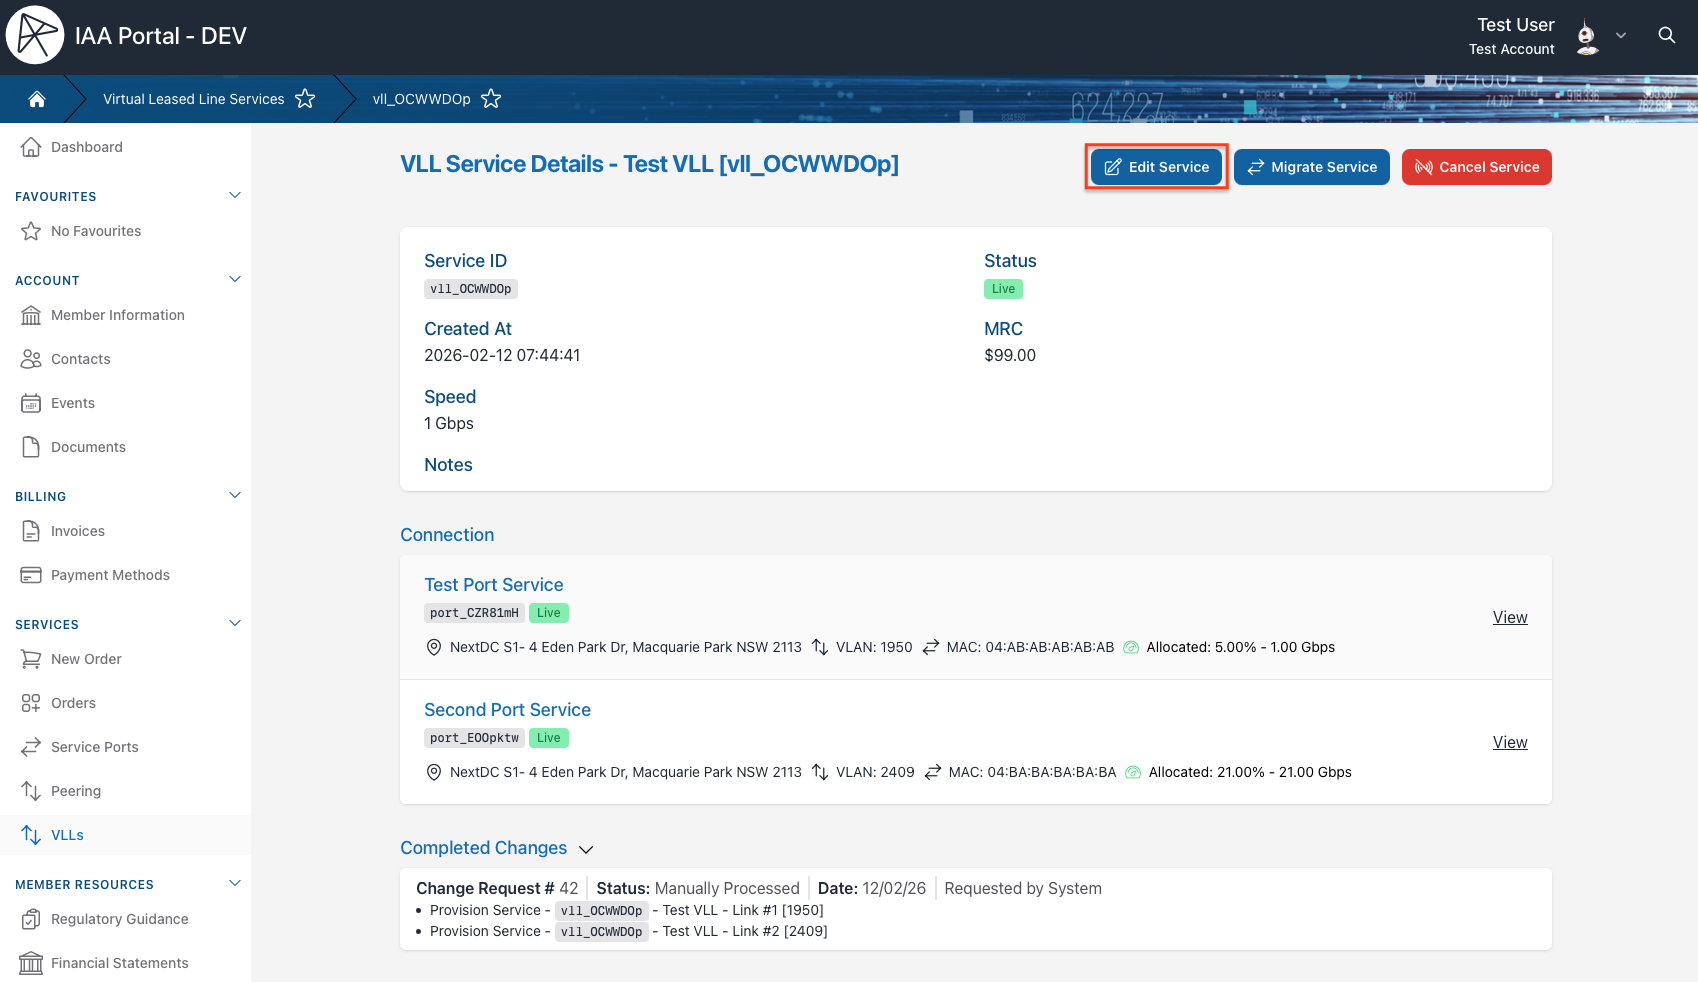
Locate the VLL Service to be edited:
- Navigate to the VLLs page and click View on the VLL Service you wish to edit, or:
- Navigate to the Services > Ports page, click View on the port the VLL Service is assigned to, then click View on the VLL Service you wish to edit.
-
Click the Edit Service Button (next to the VLL Service Details header):
-
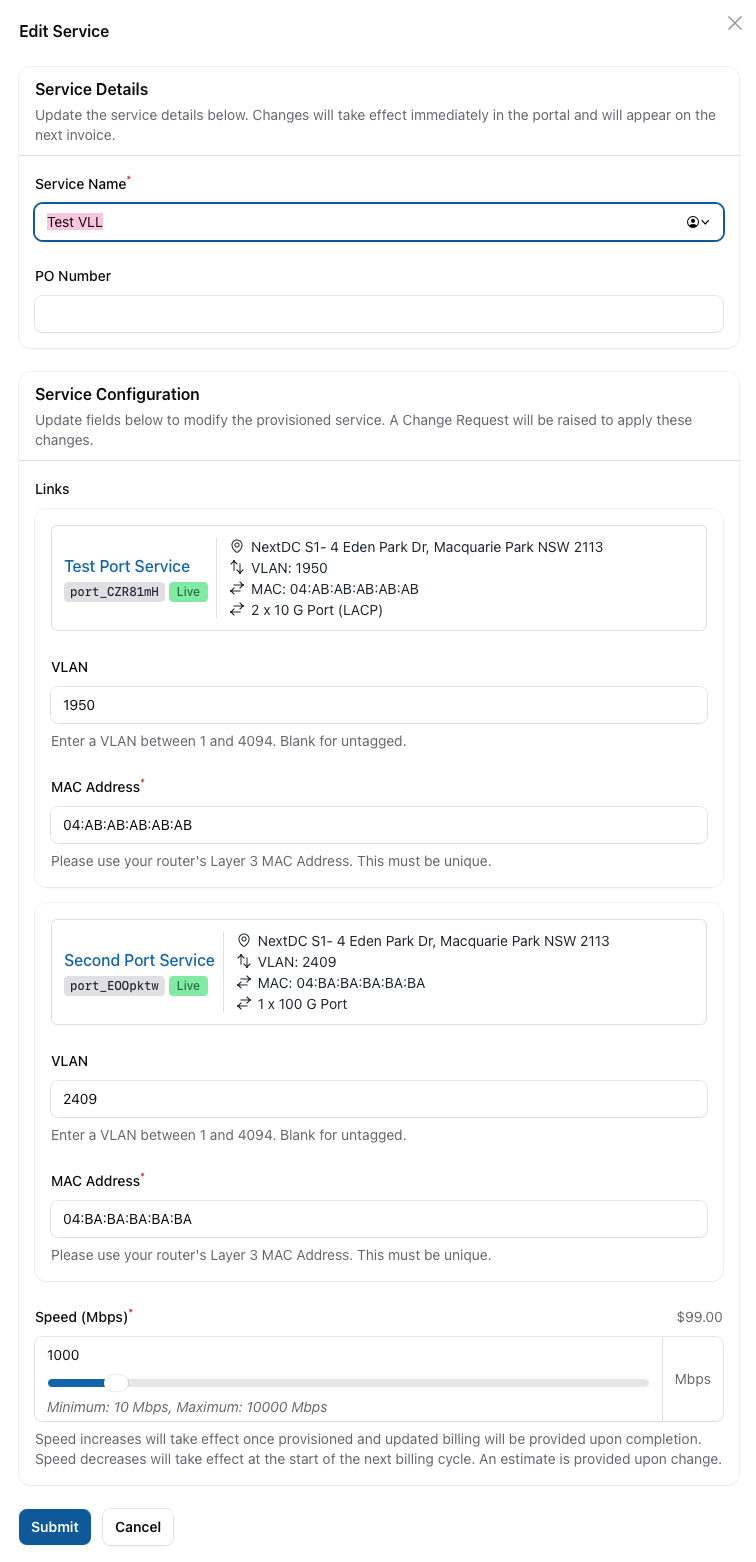
Make your changes, then click Save Changes.
- Only changes made under the Service Configuration section will be service impacting.
- Only service links originating from a port you own can be edited directly. The Target account holder is able to modify service links originating from their port.
- Only VLL owners can edit the speed of a VLL Service.
-
The status of the VLL Service will change to Change Request - Pending Approval, and a new Change Request will appear under Pending Changes.

-
Once the Change Request has been processed, the status of the Service Port will return to Live, and the Change Request will move to Completed Changes.

Migrating a VLL Service
A VLL Service can be migrated, with the following conditions:
- Both the current port and the target port must be active.
- The target port must not already host a service with the same VLAN ID as the VLL Service to be migrated.
To migrate a VLL Service:
-
Locate the VLL Service to be migrated:
- Navigate to the Services > VLLs page and click View on the VLL Service you wish to migrate, or:
- Navigate to the Services > Ports page, click View on the port the VLL Service is assigned to, then click View on the VLL Service you wish to migrate.
-
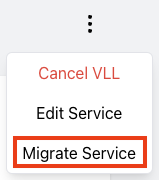
Click the Action Menu and select Migrate Service.
-
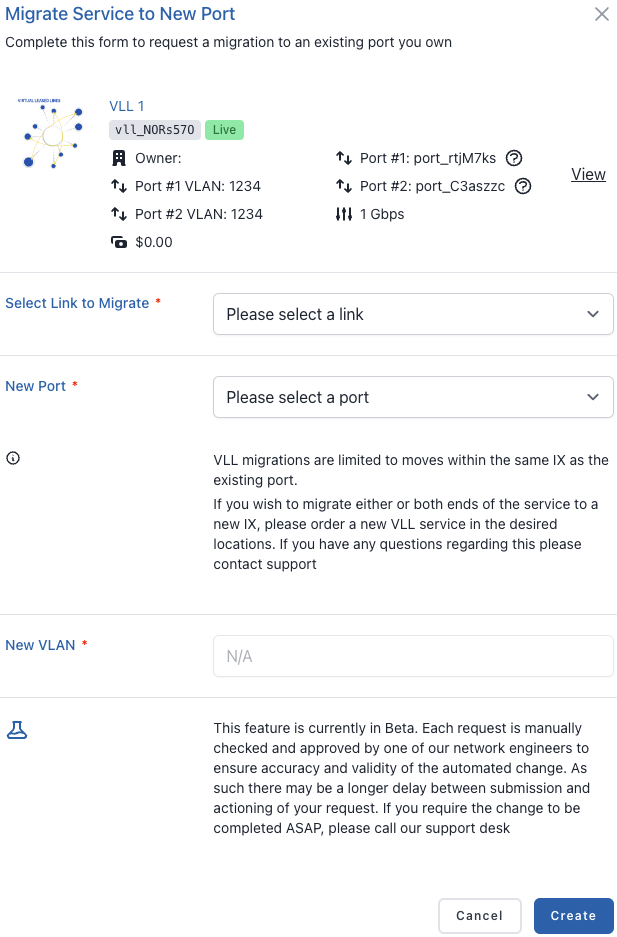
Select the target port for the migration, edit the VLAN ID and MAC address as required, then click Create.
-
The status of the VLL Service will change to Change Request - Pending Approval, and a new Change Request will appear under Pending Changes.
-
Once the Change Request has been processed, the status of the Service Port will return to Live, and the Change Request will move to Completed Changes.
Cancelling a VLL Service
-
Locate the VLL Service to be cancelled:
- Navigate to Services > VLLs and click View on the VLL you wish to cancel, or:
- Navigate to the Services > Service Ports page, click View on the port the VLL relates to, then click View on the VLL you wish to cancel.
-
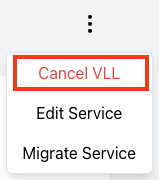
Click the Action Menu and select Cancel VLL:
-
Cancellation date will default to + 30 days in compliance with our cancellation policy.
- Please add any further information or notes that are required.
- Click Cancel Service.
- You will receive an email confirmation of your cancellation when it’s submitted and a second email when it has been completed. The status will update within the Portal as your VLL cancellation is being processed.